
Building Simple Shelves for an Attic Storage Space
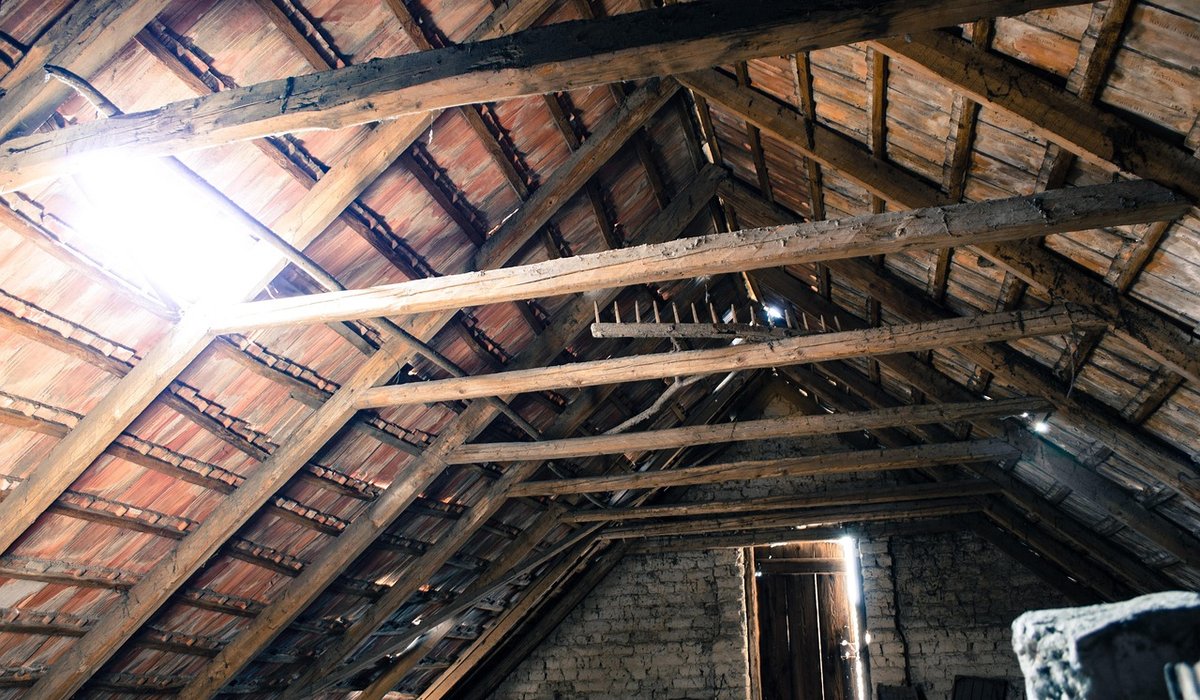
Why the Loft Deserves a Proper Storage Plan
Most UK lofts end up the same way: a boarded strip around the hatch, a few cardboard boxes balanced on the joists, and a torch you can never find. It works until you need the Christmas decorations or a suitcase, and then you are crawling on your hands and knees over mineral wool while trying not to put a foot through a ceiling.
Fitted shelving changes that. You are not building a wardrobe or a workshop, just a simple framework that turns the awkward triangular edges of a loft into genuinely useful storage. The beauty of doing it yourself is that you can follow the shape of the roof rather than fighting it.
One rule before anything else: never cut, notch or drill through a roof truss. Those slender timbers hold your roof up and are engineered as a complete unit. Fix to them by all means, but leave them structurally untouched. If you have a traditional cut roof with rafters and purlins, the same applies to cutting; screwing into them is fine.
Measuring the Space and Finding Something Solid
Take a tape measure and work along the length of the loft, noting the height from the floor deck to the underside of the rafters or collar ties at roughly one-metre intervals. You will probably find it ranges from around 700mm at the eaves to over two metres near the ridge. Write those numbers down, because they decide where shelves can go and how deep they can be.
Next, establish what you are fixing into. In a trussed loft the vertical and diagonal members give you plenty of solid anchoring points. In a cut roof, the rafters, purlins and any stud partition walls are all fair game. A cheap stud finder helps, but in a loft you can usually see the timbers clearly enough once you have pulled back the insulation.
Two practical warnings. First, watch out for electrical cables lying across the joists — they are often the reason a lighting circuit trips when someone drives a screw through one. Second, do not squash mineral wool insulation flat beneath your new shelves. Insulation needs its thickness to work, and if you are boarding over it, use raised loft legs or accept a slightly higher floor level.
Fixing the Battens: The Backbone of the Job
Battens are simply lengths of planed softwood, usually 50 x 25mm or 38 x 25mm, screwed to the upright timbers to create a fixing surface for shelves. They are cheap, easy to cut with a handsaw and strong enough for domestic storage.
- Mark a level line around the loft with a spirit level or a laser level, working from the highest point of the floor. A shelf that looks level at the ridge but slopes at the eaves will annoy you forever.
- Cut your battens to length and screw them through into the uprights using 70mm or 80mm wood screws. Drill a pilot hole first — truss timbers split easily near the ends.
- Use two screws at every fixing point, one above the other, so the batten cannot twist.
- Space the vertical battens that carry the shelf ends no more than 900mm apart. Closer spacing means thinner, cheaper shelves.
For a fully adjustable system, fix vertical battens rather than horizontal ones, then drill the shelf-support holes through them. That way you are not committed to a fixed shelf height before you know what you are storing.
Adjustable Shelves for Awkward Corners
Adjustability is what makes loft shelving pay off. Drill 5mm holes at a 32mm pitch — the same spacing used in kitchen cabinets — and use 5mm shelf pins. A simple drilling jig costs very little and keeps the holes perfectly aligned, which matters more than you might think.
Set the bottom shelf about 150mm off the deck so you can sweep underneath, then space the rest to suit your boxes. A 300mm gap takes archive boxes and paint tins, while 400mm suits suitcases and bedding bags.
Cutting Shelves to Fit Slopes and Corners
Make a cardboard template before you cut anything. Push it into the corner, trim it until it sits snugly against the rafters and battens, then transfer the shape to your board. For sloped sections, cut the shelf with a diagonal edge that follows the roof line.
- 18mm MDF is the sensible default and will span up to about 900mm without sagging.
- 12mm plywood is lighter and easier to manoeuvre through a hatch, but keep spans under 600mm.
- Allow 3mm of clearance on each side so the shelf drops in without a fight.
- Seal cut MDF edges with PVA glue or a coat of paint — bare edges soak up damp air and swell.
Notch shelves around diagonal truss members rather than cutting the truss itself. A jigsaw with a fine blade makes short work of it.
Loading, Lighting and Finishing Up
Put heavy items —工具 boxes, tins of paint, tins of screws — on the lowest shelves, directly over a supporting wall or joist where possible. Light, bulky things like duvets and empty suitcases can go high. Keep a 50mm gap between stored goods and the roofing felt so air can still circulate; a loft that cannot breathe grows mould.
Finally, add a battery LED strip or a switched light near the hatch. Shelving you cannot see into is shelving you will not use. Measure twice, screw once, and the awkward triangle at the end of your loft becomes the tidiest storage in the house.


Slim consoles, wall hooks and mirrors can turn a cramped hallway into a practical welcome. Keep colours light and clutter to a minimum.
Use under-bed drawers, tall wardrobes and over-door organisers to maximise space. Choose multi-purpose furniture that suits the room's proportions.
A small guest room needs thoughtful lighting, ventilation and storage. A comfortable bed and bedside shelf matter more than decorative extras.
Combine evergreen shrubs, hardy perennials and ornamental grasses for structure. Mulch well and choose plants suited to your soil and aspect.